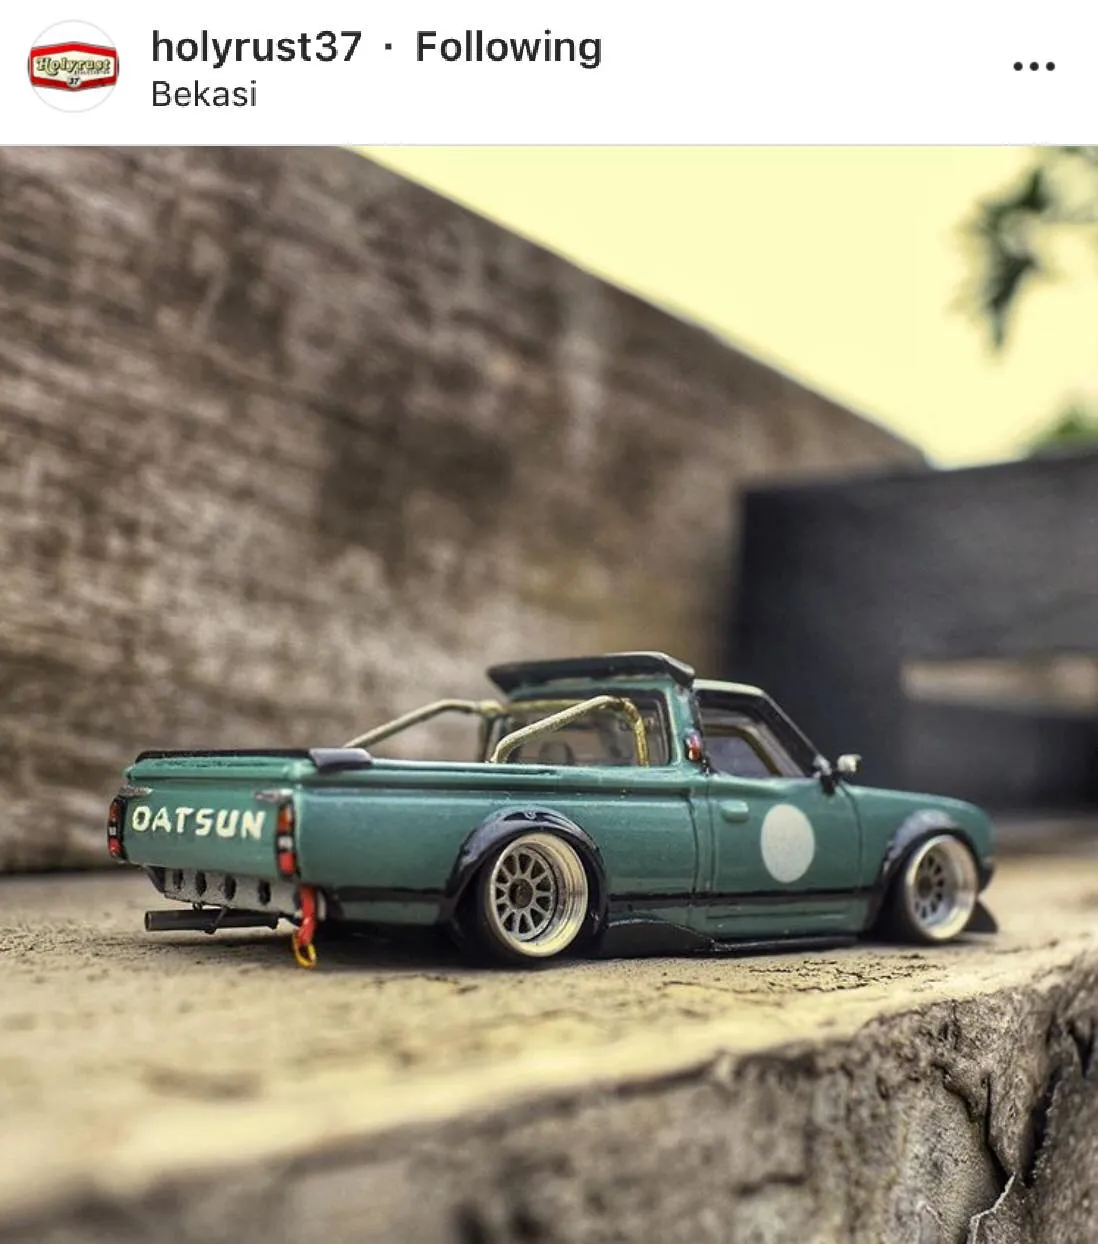
What are Custom Diecast Cars?
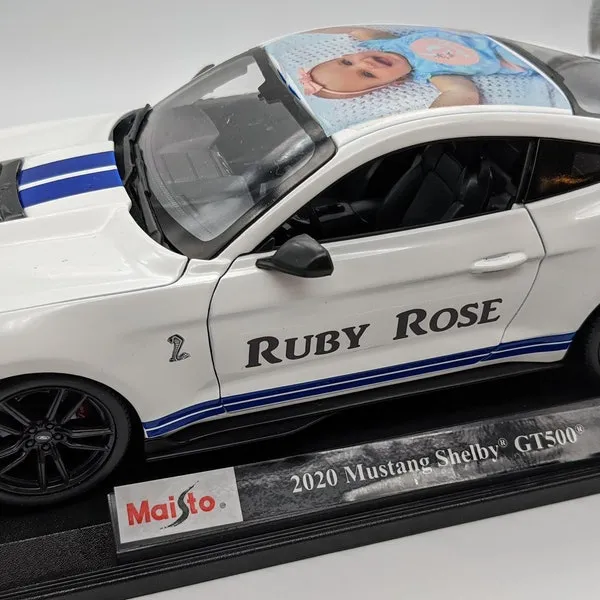
Custom diecast cars are essentially miniature replicas of real-life vehicles, meticulously crafted and personalized to reflect an individual’s preferences or to replicate a specific car. They represent a unique blend of artistry, craftsmanship, and passion for automobiles. Unlike mass-produced diecast models, custom creations allow enthusiasts to tailor every detail, from the paint job and decals to the interior and wheels, resulting in a one-of-a-kind collectible that reflects their individual style and vision. This process involves modifying existing diecast models, adding custom parts, and applying specialized techniques to achieve a high level of realism and detail. The appeal of custom diecast cars extends beyond mere collecting; it’s a creative outlet for car enthusiasts, allowing them to bring their automotive dreams to life in a tangible, miniature form. This hobby caters to individuals who enjoy intricate projects and appreciate the beauty of finely detailed miniatures, making it a fulfilling pursuit for many.
Benefits of Owning a Custom Diecast
Owning a custom diecast car goes beyond simply collecting miniature vehicles; it offers a range of compelling benefits for enthusiasts. One of the primary advantages is the ability to create a truly unique and personalized item that reflects individual tastes and preferences. Unlike mass-produced models, custom diecasts allow for unparalleled customization, ensuring that each piece stands out as a distinct work of art. This personalization extends to replicating specific cars, such as a beloved vehicle or a dream car, allowing owners to hold a tangible representation of their automotive aspirations. Moreover, custom diecast cars often hold significant sentimental value, as they represent the owner’s creativity and dedication to the craft. They can serve as cherished reminders of personal achievements and passions. Furthermore, these customized models can be valuable collectibles, appreciating in value over time due to their uniqueness and the craftsmanship involved. The ownership of a custom diecast car provides a sense of pride, creativity, and a connection to the automotive world, making it a fulfilling and rewarding hobby.
Choosing Your Base Model
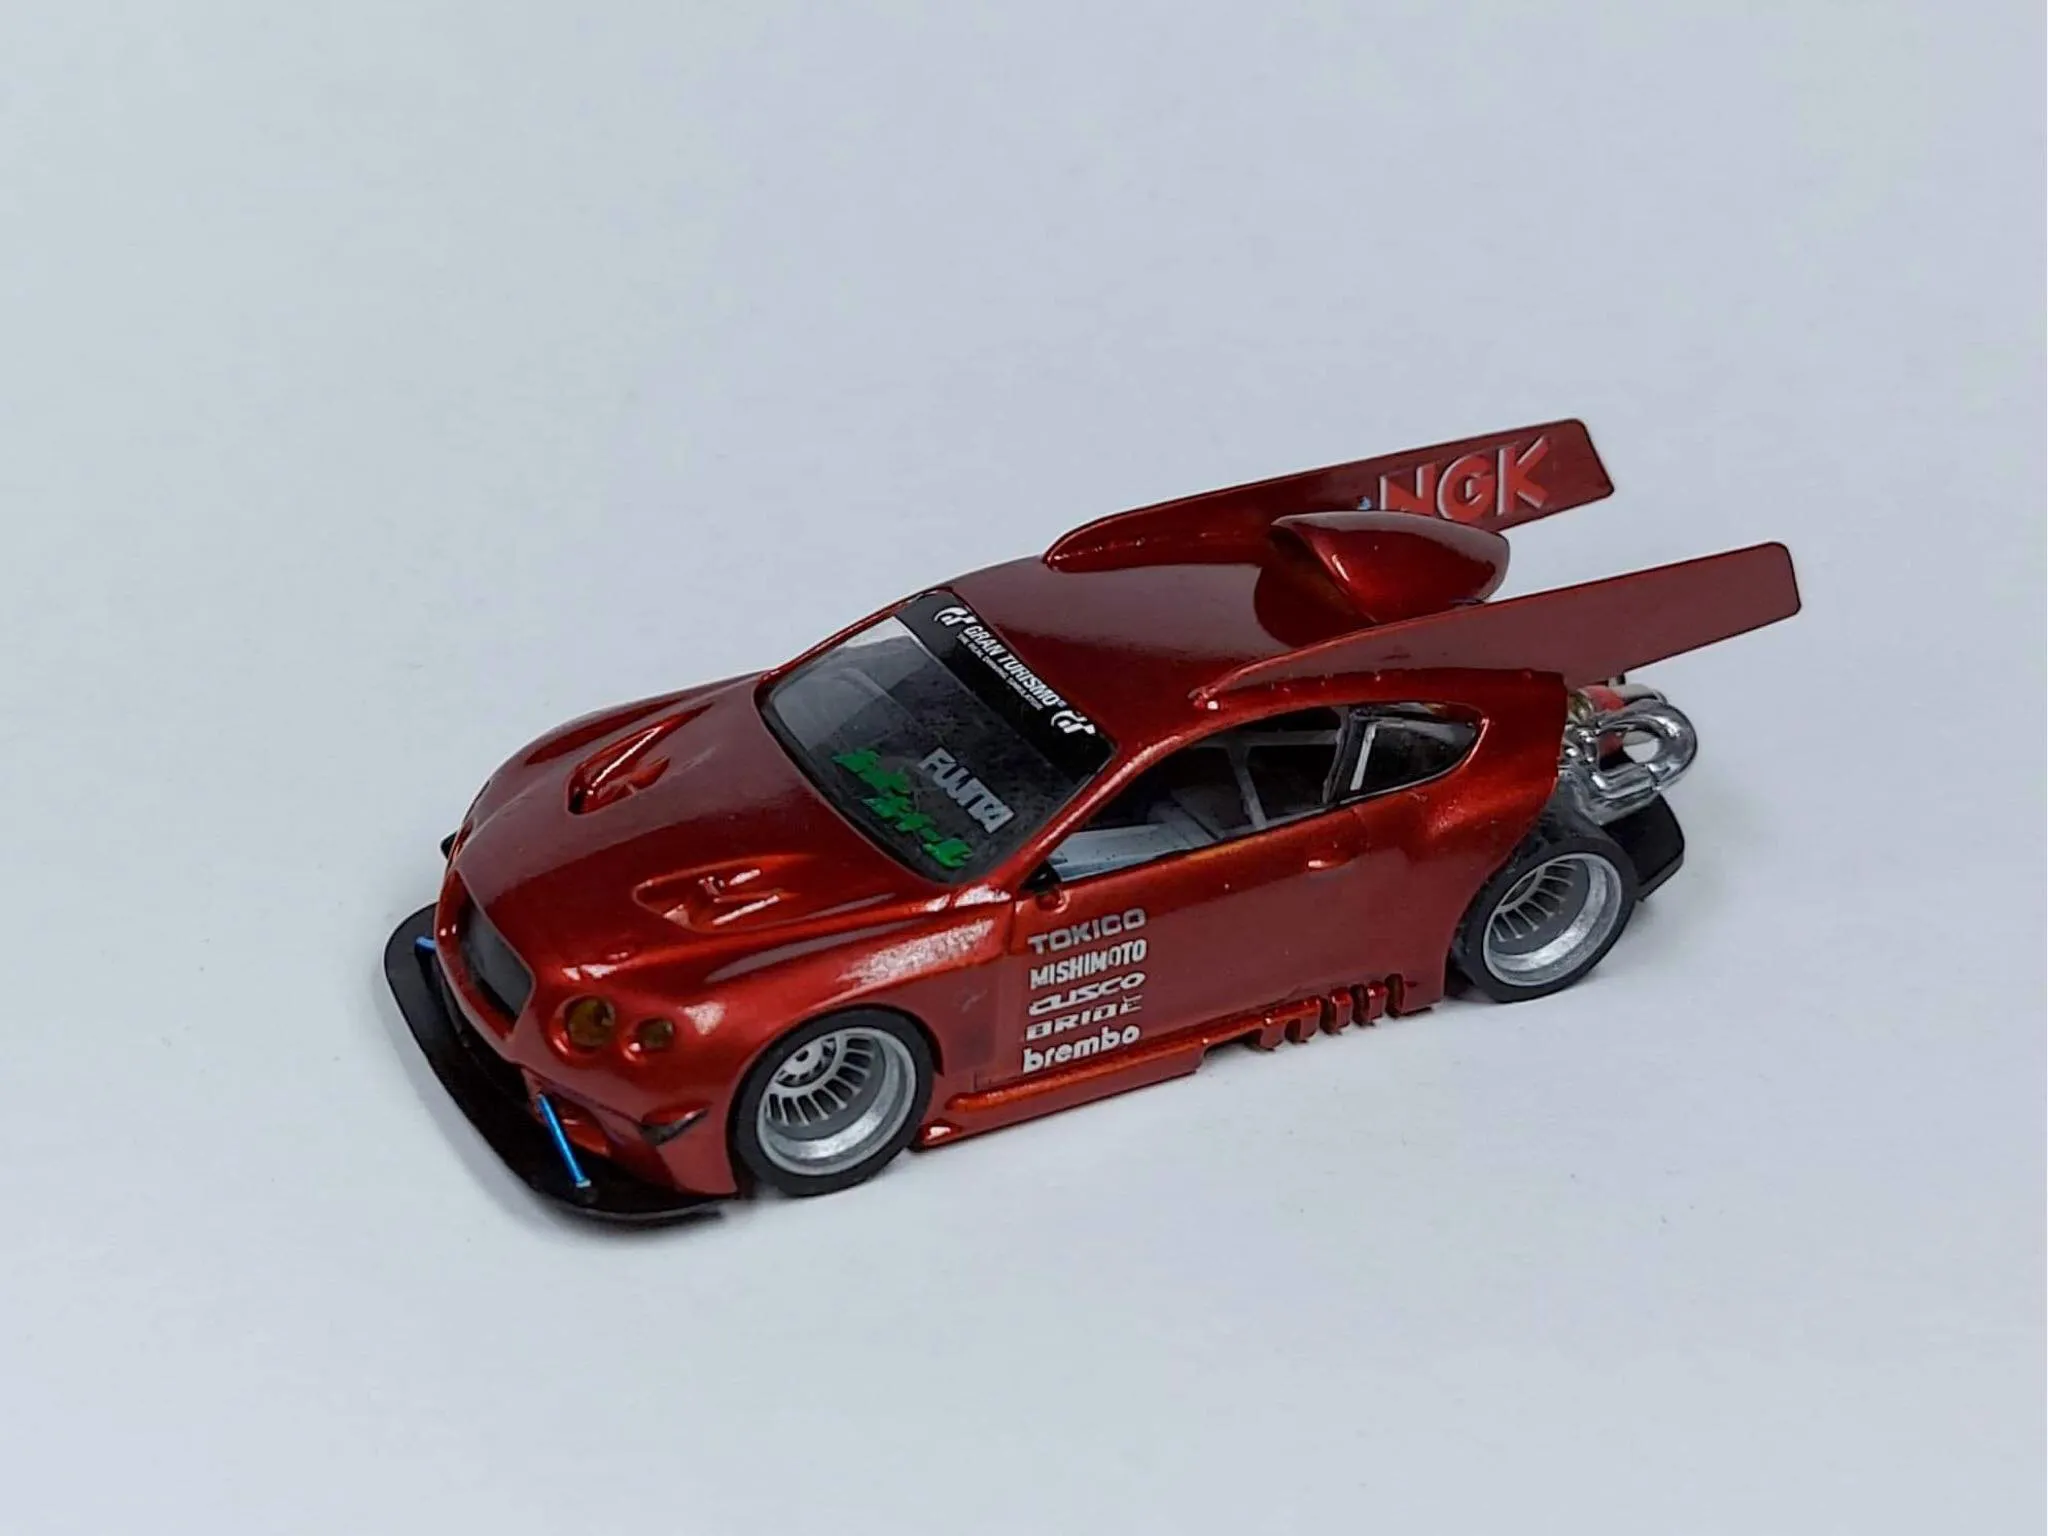
Selecting the right base model is a crucial step in the creation of a custom diecast car, as it sets the foundation for the entire project. The base model is the pre-existing diecast car that you will modify and customize. Considerations include the scale, which determines the size of the model, with popular choices being 1:18, 1:24, and 1:43. Scale influences the level of detail achievable and the overall complexity of the project. The desired vehicle type is another important factor, whether you’re aiming for a classic car, a modern sports car, or a specific make and model. Choose a base model that closely resembles your desired final product to minimize modifications. Evaluate the quality and condition of the base model, paying attention to the overall build, the level of detail, and any existing flaws. Models with detailed interiors and realistic features offer a better starting point for customization. Consider the availability of aftermarket parts and accessories for your chosen model, as these can significantly enhance the customization process. Researching the model’s popularity and community support can provide access to valuable resources, tutorials, and advice. Finally, consider your skill level and the complexity of the modifications you intend to make; a simpler model may be easier to start with if you are new to the hobby. The right base model choice will set the stage for a successful and enjoyable custom diecast project.
Factors to Consider Before Starting
Before diving into the world of custom diecast cars, several factors should be carefully considered to ensure a successful and enjoyable experience. Firstly, it’s crucial to assess your skill level and experience with model building. Customizing diecast cars involves various techniques, including painting, detailing, and potentially modifying the chassis and body, so it is useful to determine if your current abilities match the project’s demands. Budgeting is essential, as the costs of materials, tools, and base models can quickly add up. Establish a realistic budget and stick to it. Researching the specific car you intend to replicate or customize is critical. This includes gathering reference photos, understanding the car’s features, and identifying the details you want to incorporate into your model. Plan the customization process in detail, breaking it down into manageable steps. Create a timeline, considering the time required for each stage, from disassembly to painting and detailing. Prepare a dedicated workspace, ensuring adequate lighting, ventilation, and a clean environment to prevent dust and debris from affecting the final product. Safety is also a key consideration. Use appropriate safety gear, such as masks and gloves, when working with paints, solvents, and other potentially hazardous materials. Consider the availability of resources such as tutorials, forums, and online communities, which can provide support and guidance throughout the project. By carefully considering these factors, you can set yourself up for success in creating your own custom diecast car.
Gathering Your Materials
Assembling the right materials is crucial for custom diecast car projects, as it directly impacts the quality and appearance of the final product. Essential materials include a suitable base model diecast car, selected according to the scale, style, and condition. High-quality paints, primers, and clear coats are indispensable for achieving a professional finish. Acrylic paints are popular for their ease of use and versatility, while enamel paints offer durability and a glossy sheen. Various grades of sandpaper, ranging from coarse to fine, are needed for surface preparation and smoothing. Putty or filler is necessary for repairing imperfections and filling gaps. A wide array of tools are needed, including detail brushes, airbrushes (optional), masking tape, and hobby knives. Decals and detail parts are essential for adding realism and customizing the car’s features. This can include aftermarket wheels, exhaust systems, and other accessories. Solvents such as isopropyl alcohol or lacquer thinner are needed for cleaning and degreasing surfaces. Protective gear, including gloves, masks, and eye protection, is crucial for working safely with paints and solvents. A well-lit workspace with good ventilation is also important for painting and detailing. By carefully collecting these materials, you’ll have the necessary components to build your custom diecast car, making the entire process more enjoyable and the results more satisfying.
Essential Tools for Customization
Having the right tools is crucial for achieving precision and quality in custom diecast car projects. A set of small screwdrivers is essential for disassembling and reassembling the diecast model, ensuring a proper fit for each part. Hobby knives, such as X-Acto knives, are indispensable for trimming, cutting, and removing unwanted material with precision. Sandpaper in various grits (from coarse to fine) is necessary for surface preparation, smoothing, and removing imperfections. A set of detail brushes in various sizes allows for precise painting and detailing of small components. An airbrush, although optional, is highly recommended for achieving a smooth, even paint finish. A cutting mat is also useful to protect your work surface. Masking tape is essential for creating clean lines when painting multiple colors or applying decals. Tweezers are helpful for handling small parts and decals with precision. A pin vise with small drill bits is needed for drilling holes and creating mounting points for accessories. A magnifying glass or a head-mounted magnifier can aid in detailed work. Putty knives are used to apply and spread filler for bodywork. A workspace that has good lighting helps with detail work. Investing in these essential tools will significantly enhance your ability to create stunning custom diecast cars, enabling you to achieve professional-looking results.
Disassembly and Preparation
Disassembly and preparation are fundamental steps in custom diecast car projects, setting the stage for effective customization. Begin by carefully disassembling the base model. Use appropriate screwdrivers to remove screws, and gently detach the body, interior, wheels, and any other removable parts. Take photos of the model before disassembly to serve as a reference during reassembly. Once disassembled, thoroughly clean each part using soap and water or a degreaser to remove any dirt, oils, or residue. Pay attention to any areas that are difficult to access. Remove existing paint using paint stripper or by carefully sanding the surface. This process is crucial for creating a clean surface for the new paint. Inspect the body for any imperfections, such as scratches or mold lines. Use putty or filler to address these issues, carefully smoothing the surface. Once the putty is dry, sand the area to create a seamless finish. Ensure a smooth and even surface to ensure an optimal paint application. Mask off areas that you do not want to paint, using masking tape, and protect delicate details such as windows and chrome trim. Before moving on to the painting phase, ensure all the parts are ready and cleaned, paving the way for a flawless finished product. Proper disassembly and thorough preparation are the foundation of a successful custom diecast car project.
Removing the Original Paint
Removing the original paint is a critical step in the custom diecast car process, providing a clean surface for the new paint application. There are two main methods for paint removal, each with its own advantages and disadvantages. Chemical paint strippers are effective at dissolving the original paint, but they require careful handling and ventilation. When using a stripper, follow the manufacturer’s instructions and wear appropriate safety gear, including gloves and eye protection. Apply the stripper to the model, allowing it to dwell for the recommended time, then gently remove the softened paint using a soft brush or scraper. Alternatively, manual sanding can be used to remove the paint, a more labor-intensive approach. Use different grits of sandpaper, starting with a coarser grit to remove the bulk of the paint, gradually working your way to finer grits to smooth the surface. This method requires patience and care, as aggressive sanding can damage the model. In both methods, it is essential to work in a well-ventilated area and to remove all traces of the original paint from every surface. After removing the paint, thoroughly clean the model with soapy water or a degreaser to remove any residue, and prepare it for surface preparation and priming. The success of your custom diecast project hinges on a clean and well-prepared surface, making paint removal an essential step.
Surface Preparation for Painting
Surface preparation is a critical step in creating a smooth, flawless finish for your custom diecast car. After removing the original paint, the model’s surface may still have imperfections, such as scratches, mold lines, or minor dents. Begin by carefully inspecting the entire surface, identifying any imperfections that need to be addressed. Use a fine-grit sandpaper (around 400-600 grit) to smooth out minor scratches and imperfections. For deeper scratches or imperfections, use automotive body filler or putty to fill them, then sand smooth once the filler is dry. Apply a primer coat to the model, after the paint has been removed, after any imperfections have been addressed. Priming creates a uniform surface, promotes paint adhesion, and helps to reveal any remaining imperfections. Once the primer is dry, lightly sand the surface again, using a very fine-grit sandpaper (800-1000 grit) to remove any imperfections and to further smooth the surface. Make sure the surface is clean. Before painting, clean the model thoroughly with a degreaser or isopropyl alcohol to remove any remaining dust, oils, or contaminants. Proper surface preparation ensures that the paint adheres correctly, and that the final finish is smooth, even, and free of defects, ultimately enhancing the overall appearance of your custom diecast car.
Painting Techniques for Diecast Cars
Painting techniques are essential for achieving a professional and visually appealing finish on custom diecast cars. There are two primary methods for painting: airbrushing and spray painting. Airbrushing offers the greatest control and precision, allowing for smooth, even coats of paint and detailed color transitions. Airbrushing requires an airbrush, compressor, and a well-ventilated workspace. Spray painting, using aerosol cans, is a more accessible option, but it requires more practice to avoid runs, drips, and uneven coats. Before starting, prepare the model thoroughly by priming it to provide a uniform base for the paint. Apply thin, even coats of paint, allowing each coat to dry completely before applying the next, to prevent runs and ensure proper adhesion. Maintain a consistent distance between the spray nozzle and the model, moving the airbrush or spray can smoothly across the surface. Use masking tape to protect areas that you do not want to paint when applying multiple colors. For complex designs, consider using stencils to create sharp lines and patterns. After the paint has dried, apply a clear coat to protect the paint and add a glossy finish. Using these painting techniques will enable you to create a high-quality, professionally finished custom diecast car.
Priming Your Diecast Car
Priming your diecast car is an essential step in the painting process, as it provides a uniform base for the paint, promotes adhesion, and helps to reveal any imperfections. Use a primer specifically designed for model painting, or automotive primer is recommended. Apply a thin, even coat of primer to the prepared surface of the diecast model, covering the entire surface. Avoid applying thick coats, as this can lead to runs or drips. Allow the primer to dry completely according to the manufacturer’s instructions, and work in a well-ventilated area. Inspect the primed surface for any imperfections, such as scratches, pits, or unevenness. Lightly sand the primed surface with fine-grit sandpaper (800-1000 grit) to smooth out any imperfections and to prepare the surface for the paint. Clean the primed model with a degreaser or isopropyl alcohol to remove any dust or residue. Priming provides a uniform surface that enhances the adhesion of the paint and helps to produce a smooth, professional-looking finish on your custom diecast car.
Applying Base Coats
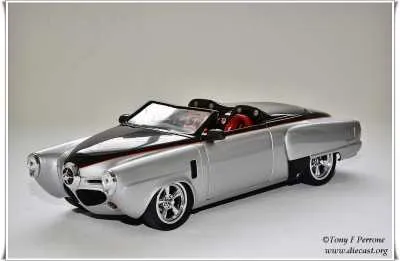
Applying base coats is a key aspect of the customization process, determining the color and appearance of your custom diecast car. Once the primer has been applied and smoothed, choose the desired color for the base coat, which forms the foundation of the car’s final look. The choice of paint type will affect the outcome; acrylics are user-friendly and suitable for beginners. Enamels offer a durable, glossy finish. Apply the base coat in thin, even layers, allowing each layer to dry completely before applying the next. This prevents runs, drips, and ensures even coverage. Using an airbrush is highly recommended for a smooth, professional finish, but spray cans can also be used if applied carefully. Maintain a consistent distance and spray pattern to achieve uniform color. Apply multiple thin coats rather than a single thick coat to prevent paint buildup. After applying the base coat, let it dry completely. Inspect the model for any imperfections, such as dust particles or unevenness. If needed, lightly sand the surface with a very fine grit sandpaper, and then apply an additional coat. Apply the base coat carefully and patiently to create a visually appealing, high-quality finish for your custom diecast car.
Adding Details and Decals
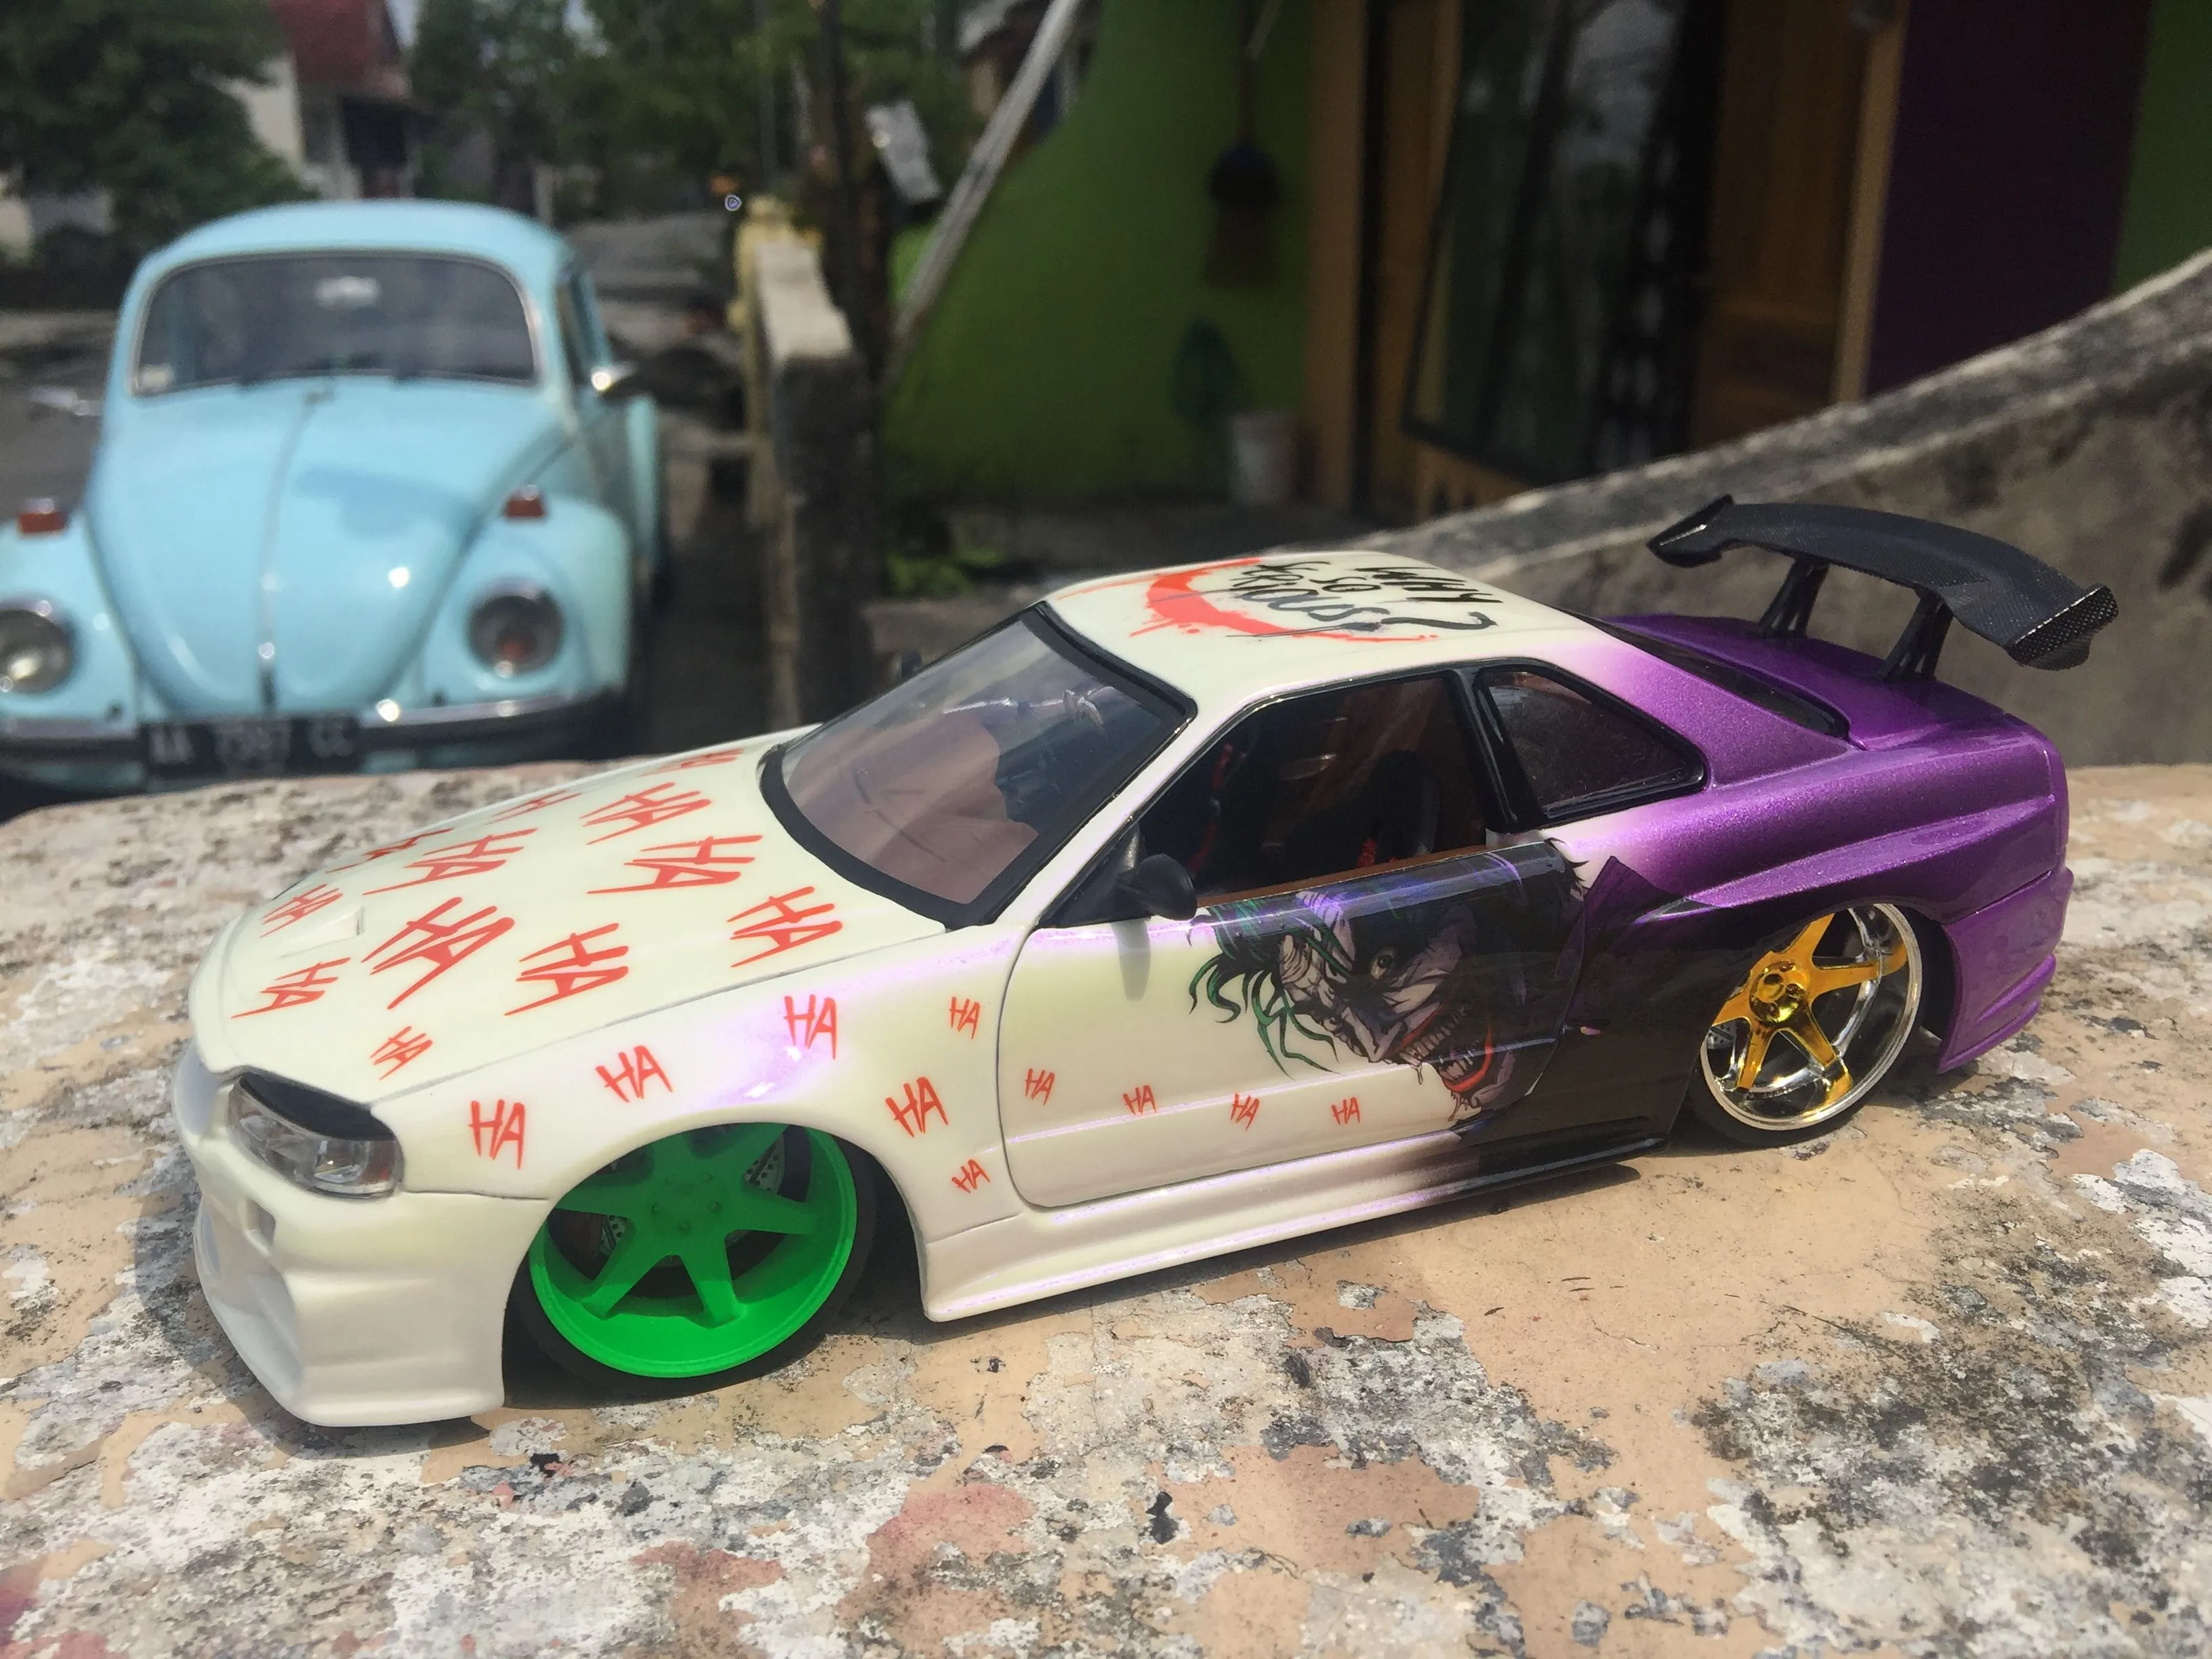
Adding details and decals is the stage where your custom diecast car truly comes to life, adding intricate details that enhance its realism and visual appeal. Detail painting can be done with detail brushes, allowing for meticulous application of different colors to various parts of the model, such as headlights, taillights, trim, and interior elements. Precise detailing brings out the car’s character. Decals are used to replicate logos, racing stripes, and other graphic elements. Prepare the surface carefully, ensuring that it is clean and smooth. Use decal setting solutions to help the decals conform to the model’s surface. Carefully apply the decals, and trim excess film with a sharp hobby knife. Once the details and decals have been applied, protect them with a clear coat to seal and protect the finish. Clear coat also gives a professional finish. The addition of details and decals is the key to transforming your custom diecast car into a realistic and visually stunning representation of the real thing.
Detailed Detailing Techniques
Detailed detailing techniques are critical for achieving a high level of realism and visual appeal in your custom diecast cars. Start by assembling a set of fine-tipped detail brushes. These brushes are essential for applying paint with precision to small areas. Gather reference photos of the specific car you are customizing, paying close attention to the details. Use masking tape to protect areas where you do not want to paint, and create clean lines and separate colors. Detail the headlights and taillights by painting the lenses, reflectors, and surrounding trim. Replicate the interior details, including the dashboard, seats, and door panels. Use washes to emphasize panel lines and enhance depth, using thinned paints to highlight details. Use dry brushing to accentuate raised details and add texture. Consider using weathering techniques, such as washes and dry brushing, to simulate dirt, rust, and other signs of wear. Apply clear coats to protect the details, and provide a professional finish. Master these detailing techniques to bring your custom diecast cars to life, adding visual interest and enhancing their overall realism.
Adding Decals and Graphics
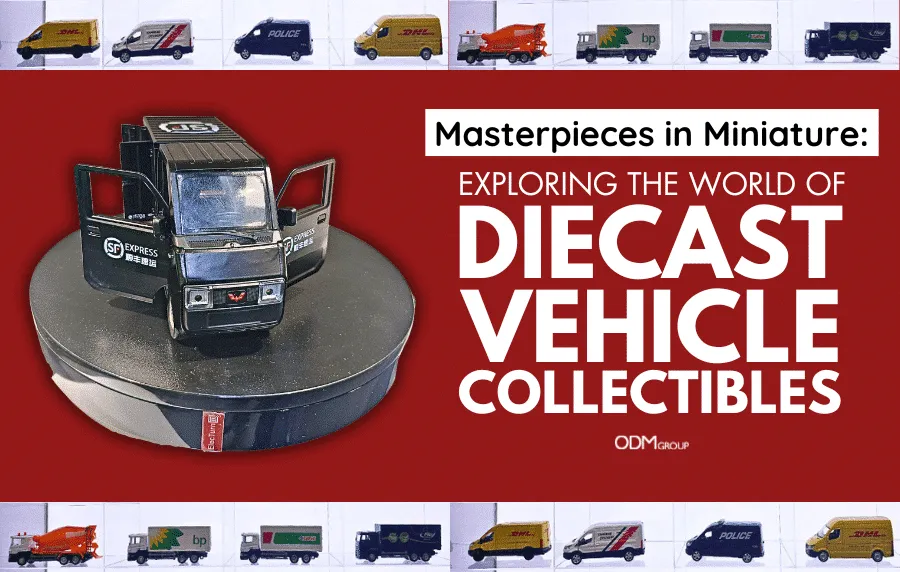
Adding decals and graphics is essential for transforming your custom diecast car into a realistic representation of a specific vehicle or design. Start by gathering the appropriate decals for the car you are customizing. Prepare the surface by ensuring that it is smooth, clean, and ready to accept the decals. Decal application is as follows: carefully cut the decals from the sheet, and trim any excess film. Dip the decals in water to activate the adhesive backing, and gently slide them off the backing paper. Position the decals on the model, carefully using tweezers or a fine-tipped brush. Once in position, use a soft cloth or cotton swab to remove air bubbles and flatten the decals. Apply decal setting solutions, which help the decals to conform to the surface and reduce the appearance of silvering, or silver edges. Trim the excess film, using a sharp hobby knife, as needed. After the decals have dried completely, apply a clear coat to protect the decals and provide a seamless finish. The precise application of decals and graphics adds authenticity and visual appeal to your custom diecast car.
Clear Coating and Finishing
Clear coating and finishing is the final step, which protects the paint, decals, and details of your custom diecast car, giving the model a professional and durable finish. Choose a clear coat that is compatible with the paint used. Spray the model in thin, even coats. Allow each coat to dry completely before applying the next. The application should be done in a dust-free environment. For a high-gloss finish, apply multiple coats of clear coat, and then polish the model after the final coat has dried. For a matte finish, apply a matte clear coat. Inspect the model for any imperfections. If necessary, wet-sand the clear coat with very fine-grit sandpaper (1500-2000 grit) and then polish it to remove any imperfections. The clear coat is applied to provide a protective layer. The clear coat will also enhance the visual appeal. Clear coating and finishing will protect your custom diecast car for years to come, and preserve the artistry and craftsmanship involved in creating it.
Reassembly and Final Touches
Reassembly and final touches are critical for completing your custom diecast car project and bringing it to its final form. Once the paint, decals, and clear coat have completely dried, carefully reassemble the model by reversing the disassembly process. Refer to your reference photos to ensure that all parts are correctly aligned. Use the appropriate tools, like small screwdrivers and tweezers, to carefully attach the components. Double-check that all the screws are tightened properly. Inspect the reassembled model for any imperfections, and make any necessary adjustments. Use detail brushes and small amounts of paint to touch up any minor flaws, and to add any finishing touches. If desired, add accessories, such as license plates, side mirrors, and other details. Inspect the model carefully, and make sure all parts are secure. The final touches will bring the entire model to life. Reassembly and final touches are an essential step in creating a completed and professional-looking custom diecast car.
Displaying and Protecting Your Creation
Displaying and protecting your custom diecast car is essential for showcasing your work and preserving its value over time. Consider using display cases, which provide protection from dust, UV light, and accidental damage. Choose cases that match the size and scale of your models. Avoid placing the models in direct sunlight or areas with extreme temperatures, as this can damage the paint and decals. Dust regularly with a soft brush or cloth to prevent dust buildup. Handle your models with care, and store them in a safe location. Consider using museum-quality display cases. For more permanent storage, consider using acid-free tissue paper to wrap the models. You can also consider using a dehumidifier to control humidity. Proper display and protection ensure that your custom diecast car will remain in excellent condition for years to come, allowing you to enjoy your creation and protect your investment.
Showcasing Your Custom Diecast
Showcasing your custom diecast car is a rewarding aspect of the hobby, allowing you to share your creativity and passion with others. Consider displaying your models in a dedicated area of your home, such as a display cabinet or shelf. You can also participate in local model car shows, where you can exhibit your work and connect with fellow enthusiasts. Share your custom diecast cars on social media platforms, such as Instagram or Facebook, to reach a wider audience. Create a website or blog to document your builds and share your techniques and experiences. Take high-quality photos of your models, capturing the details and craftsmanship. Engage with other collectors, and participate in online forums and communities. Build a display that is creative and unique. Showcasing your custom diecast cars is not only about sharing your work but also about connecting with others who share your passion. It can create a sense of community. Showcase your work to appreciate the hobby and share your passion.
Protecting Your Investment
Protecting your custom diecast car is important, particularly if you want to maintain its value and enjoy its beauty for years to come. Store your models in a controlled environment, away from direct sunlight, extreme temperatures, and high humidity. Direct sunlight can fade the paint and decals, while extreme temperatures can cause the model to warp or crack. Handle the models with care, and avoid touching the painted surfaces as much as possible. Use display cases to protect the models from dust, debris, and accidental damage. Keep the models in a smoke-free environment, as smoke can damage the paint and details. Consider insuring your collection against theft, damage, and loss. Maintain your collection, and consider keeping a detailed record of your builds, including photos, descriptions, and the materials used. By taking these steps, you can protect your custom diecast car and safeguard your investment.
