Why DIY Custom NASCAR Diecast
Embarking on a DIY journey to customize your NASCAR diecast models is a rewarding experience. It’s a fantastic way to merge your passion for NASCAR with the satisfaction of creating something unique and personal. Customizing diecast cars goes beyond simply owning a model; it allows you to express your creativity, replicate your favorite cars with unparalleled accuracy, or even design your own fictional racing schemes. The ability to tailor every detail, from the paint scheme to the sponsor decals, offers a level of personalization that you can’t find anywhere else. Moreover, it’s a cost-effective hobby compared to buying exclusive or limited-edition models. The skills you acquire, such as painting, detailing, and decal application, can also be applied to other model-making projects. Finally, the community aspect, sharing your creations and learning from others, adds an enjoyable dimension to the hobby.
Choosing Your NASCAR Diecast Model
The first step in your DIY NASCAR diecast adventure is choosing the right model. Consider a few key factors to make the best choice. First, think about the scale; common scales include 1:64, 1:24, and 1:18. The 1:24 scale is a popular choice because it offers a good balance of detail and manageable size for customization. Next, select a model based on the specific car you want to replicate or the design you have in mind. Look for models that are readily available and affordable, as these will be easier to customize. Examining the existing paint finish and any pre-applied decals is also essential, as these will impact how much work is needed to prep the car for your customizations. Furthermore, think about the model’s build quality, as a higher-quality diecast will typically be easier to work with and yield better results. Finally, consider the availability of aftermarket parts or decals for the model you choose; this can greatly simplify your customization process.
Scale and Manufacturer Considerations

Scale is a critical element to consider. The 1:24 scale is most widely used, offering a great balance of detail and ease of handling. 1:64 scale models are smaller and more affordable, which makes them suitable for beginners and easier to store and display in large numbers. 1:18 scale models are much larger and offer the most detail, but they can be more expensive and require more space to work on. Regarding the manufacturer, various companies produce NASCAR diecasts, including Lionel Racing, Action Racing Collectibles, and others. Some manufacturers have better reputations for quality and detail than others. Researching different manufacturers and comparing their products can help you find models that suit your needs. Look for models with good panel lines, accurate body shapes, and realistic features. This attention to detail will enhance your customizing efforts and help you create a more realistic final product. Quality of the base model will heavily influence the final result.
Materials and Tools You’ll Need
To embark on your DIY NASCAR diecast project, you’ll need the right materials and tools. Begin with essential hand tools such as hobby knives, small screwdrivers, and pliers for disassembly and detail work. Quality is important here, so the tool can do its job. Precision is necessary for a good result. You’ll also need various types of sandpaper, ranging from coarse to fine grits, to prepare the surface for painting. A good work surface is crucial for organization and protecting your diecast. A cutting mat or a piece of thick cardboard can be used. High-quality paints and primers specifically designed for model cars are essential; these are often enamel or acrylic-based. You’ll want a selection of brushes, from fine detail brushes to broader brushes for base coats, and a well-ventilated workspace. An airbrush and compressor are a worthwhile investment if you plan to customize often, as they provide a smoother, more professional finish. Furthermore, you’ll need decal setting solutions, clear coats, and various adhesives for attaching parts and decals. These materials and tools will be the foundation of your customizing endeavor.
Essential Customizing Supplies
In addition to the basic tools, other supplies can elevate your DIY NASCAR diecast customization. Decals are the heart of your custom design, so acquire a variety of decal sheets for different sponsors, logos, and car details. Micro-Set and Micro-Sol solutions are a must for applying decals; they help them adhere to the model’s surface and conform to curves. For painting, consider acrylic or enamel paints designed for model cars, and purchase various colors to match your desired schemes. For detailing, gather small items like rivets, screws, and photo-etched parts to replicate realistic features. Detail pens are a great way to add small touches, such as panel lines or accent details. A good magnifying glass or a head-mounted magnifier can be incredibly useful for fine detail work, helping you see the intricate elements of the diecast. A well-stocked parts box containing various model car accessories, like antennas, mirrors, and spoilers, will enable you to add those finishing touches that set your model apart.
Step-by-Step Customization Guide

Preparing Your Diecast for Customization
The initial preparation is vital for a successful customization. Carefully disassemble the diecast, removing all parts that could interfere with painting, such as the windows, wheels, and interior. Use small screwdrivers or hobby knives to separate the parts carefully. Thoroughly clean the model to remove any dirt, oil, or residue. Use warm soapy water and let it dry completely. If the existing paint is to be removed, carefully sand the surface using different grit sandpaper. Start with a coarser grit and gradually move to a finer grit to smooth out the surface. Use a primer designed for model cars to ensure the paint adheres properly to the metal. Apply the primer in thin, even coats, allowing each coat to dry completely before applying the next. Once primed, inspect the surface and address any imperfections. Smooth any areas with fine-grit sandpaper to prepare the surface for painting.
Paint and Decal Application
After preparation, the painting and decal application steps begin. If you are using an airbrush, apply several thin coats of paint, allowing each coat to dry before applying the next. This technique reduces the risk of runs or drips and yields a smoother finish. Alternatively, you can use spray cans, but ensure the paint is compatible with the primer and surface. For decals, carefully cut them from the decal sheet, ensuring you trim as close as possible to the design. Dip the decal in warm water for a few seconds until it releases from the backing paper. Position the decal on the model, using a small brush or cotton swab to adjust its position. Apply Micro-Set solution to the model surface before applying the decal; this enhances adhesion. Use Micro-Sol solution to soften the decal and make it conform to the model’s curves and details. Once dry, apply a clear coat to protect the paint and decals, giving the model a glossy finish. Use a spray can or airbrush, making sure to apply even, thin coats.
Advanced Customization Techniques

For those looking to take their DIY NASCAR diecast customization to the next level, several advanced techniques can enhance the realism and detail of your models. Consider adding weathering effects to simulate wear and tear. This can be done with washes, dry brushing, and pigments to add dirt, grime, and fading. Another advanced technique is creating custom decals. Using a computer and decal paper, you can design unique logos, sponsor markings, or car numbers that are not available commercially. Modifying the model’s body with aftermarket parts is also possible. This could include adding a more detailed engine, custom wheels, or aerodynamic upgrades. Photo-etched parts add incredibly fine details that cannot be replicated with other techniques. Learning these techniques will significantly enhance the realism and visual appeal of your customized diecast cars. Practice is key to perfecting these advanced techniques.
Adding Realism with Detailing
Adding realism with detailing involves small enhancements that make a big difference. Consider the tires. They can be weathered and detailed with tire markings using detail pens. The interior is an area for extensive detailing. You can add seatbelts, roll cages, and dashboard details to make the interior more true-to-life. The engine bay also offers opportunities for detail. You can add wiring, hoses, and other engine components for added realism. Photo-etched parts are excellent for adding intricate details such as grilles, wing supports, or small logos. The addition of these elements will enhance the appearance of your model and create a more convincing result. The small details are where the difference can be found, so invest time in these finishing touches.
Displaying and Preserving Your Custom NASCAR Diecast
Displaying your custom NASCAR diecast is as rewarding as creating it. Consider using display cases or shelves to showcase your models, protecting them from dust and damage. You can arrange your models by driver, team, or year to create a visually appealing collection. Proper lighting can enhance the display, so consider using spotlights or LED strips to highlight the details of each model. Moreover, you can add backdrops or dioramas to create a scene, such as a pit stop or a race track. Preserving your work is essential to protect your investment. Keep your models in a cool, dry place away from direct sunlight to prevent fading or damage. Use anti-static dust brushes to clean the models regularly, and avoid touching the painted surfaces. Handle the models with clean hands, and store them in protective cases or boxes if you need to move them. These practices ensure your models remain in pristine condition for years.
Showcasing Your Creations

Showcasing your custom NASCAR diecast models is a way to share your work with fellow enthusiasts. Participate in online forums and social media groups. Share photos of your models, participate in discussions, and get feedback from others. Consider entering model car shows or competitions. This is a great way to get your models judged by experts, receive valuable feedback, and possibly win awards. Organize local meetups or displays. Invite other model enthusiasts to showcase your work and share your passion. Use high-quality photography to capture your models from different angles and highlight the details. This will not only help you show your work in the best light but will also help you document your progress and compare your models. Remember to give credit to any resources or tutorials that you used during your customization process, as this will demonstrate your appreciation of the hobby’s community.
Troubleshooting Common Issues
Paint Issues and Solutions
One of the common challenges in customizing NASCAR diecasts is paint issues. Bubbling, cracking, or peeling paint can occur. This could be due to improper surface preparation, incompatible primers and paints, or applying coats that are too thick. To solve this, carefully sand down the existing paint and re-prime the surface. Ensure that you are using the correct primer and paint combination and apply thin, even coats. Runs or drips can be caused by applying too much paint at once. To address this, use an airbrush or spray cans, applying thin, even coats. Allow each coat to dry completely before applying the next one. Orange peel is another common issue, which results in a bumpy or uneven surface. This could be due to incorrect air pressure in your airbrush or applying paint from too far away. Adjust the air pressure and spray distance, and consider lightly sanding the surface between coats. By recognizing these problems and following appropriate solutions, you can achieve smooth, professional-looking paint finishes.
Decal Application Problems

Decal application can also present problems. Silvering is a common issue where a silver outline appears around the decal. This can be caused by air bubbles trapped between the decal and the surface. To resolve this, use Micro-Set and Micro-Sol solutions to help the decal adhere and conform to the surface. Using a pin or hobby knife to prick any air bubbles can also help. Tearing decals can happen when handling or positioning them. To avoid this, handle decals carefully with tweezers or your fingers. Use a small brush to adjust the decal, ensuring it is correctly positioned before drying. Curling edges are another problem that makes the decals lift from the surface. Applying Micro-Sol helps the decals to conform to the curves. In addition, make sure the surface is clean and smooth before applying the decal. With patience and care, these decal application problems can be overcome.
Where to Find Inspiration and Resources
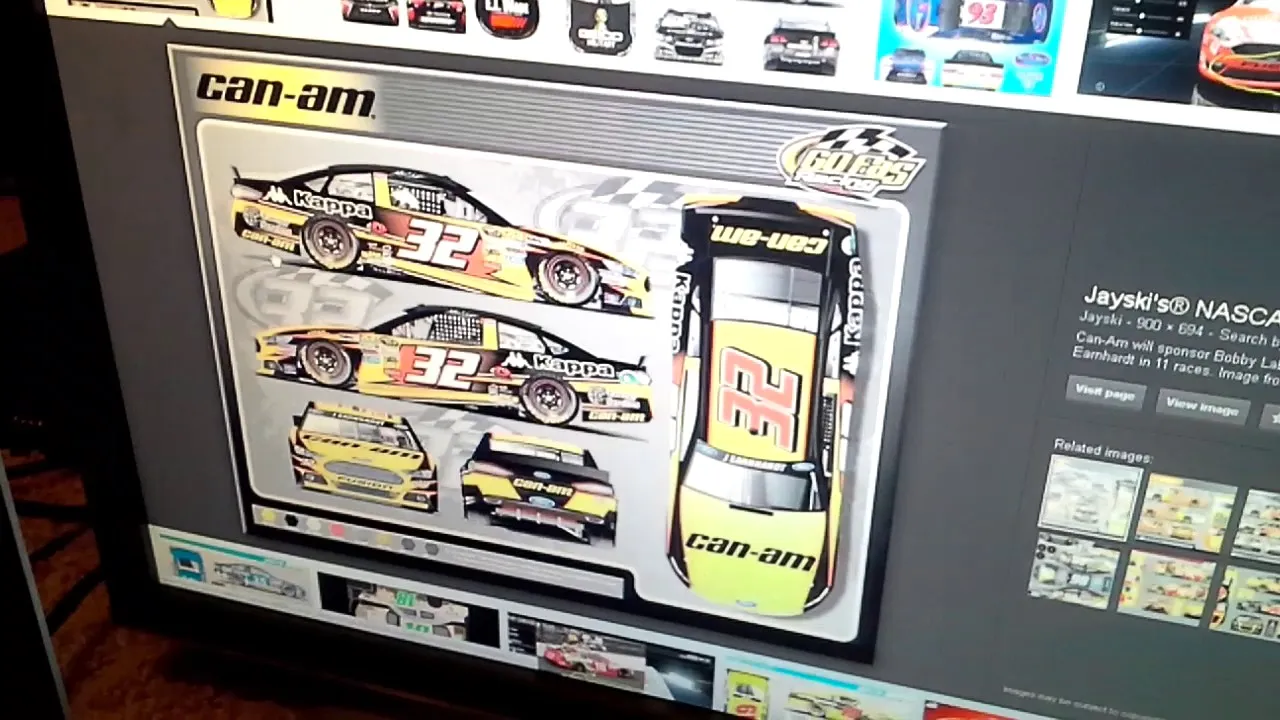
Finding inspiration and resources is a key part of your DIY journey. Look to online forums, social media groups, and model car communities. There are numerous platforms where fellow enthusiasts share their projects, techniques, and tips. Explore websites and YouTube channels dedicated to model car customization; many offer tutorials and reviews. These resources can provide valuable guidance and new ideas. Another great resource is NASCAR itself and its history. Research the paint schemes, sponsors, and car details of your favorite racers. This information will help you replicate their cars with accuracy. Visit model car shows or events and talk to other modelers. Get firsthand advice and see other amazing builds. You can also use online marketplaces and hobby stores to find model car parts, decals, and supplies. The internet is also home to various reference images and templates that can assist in your builds. Access to these resources will greatly assist you as a modeler.