What is Matchbox Diecast Restoration
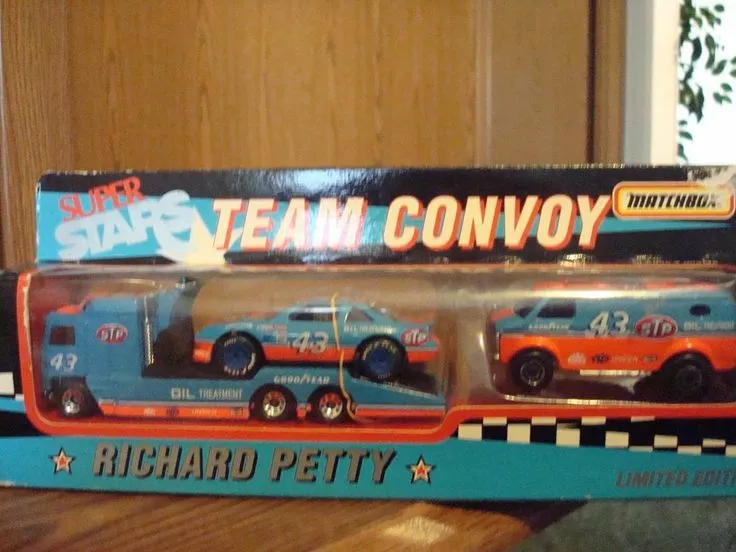
Matchbox diecast restoration is the process of bringing vintage or damaged Matchbox toy cars back to their original condition, or even improving them. It involves cleaning, repairing, repainting, and reassembling these miniature vehicles. It’s a rewarding hobby that combines elements of history, craftsmanship, and collecting. By restoring these classic toys, enthusiasts preserve a piece of automotive and toy history. Whether you have a rare model or a childhood favorite, restoration can transform a worn-out car into a prized possession. This guide will walk you through the steps needed to successfully restore your own Matchbox cars, from basic cleaning to advanced detailing.
Why Restore Matchbox Cars
There are several compelling reasons to engage in Matchbox diecast restoration. For many, it’s a nostalgic journey back to childhood, allowing them to relive fond memories associated with these iconic toys. Others are driven by the collector’s passion, aiming to preserve and increase the value of rare or sought-after models. The restoration process itself can be deeply satisfying, offering a creative outlet and a sense of accomplishment as you breathe new life into these miniature masterpieces. Furthermore, restoring Matchbox cars contributes to sustainability by extending the lifespan of existing toys, reducing the demand for new manufacturing and minimizing waste. Finally, restored Matchbox cars can be valuable collectibles, and the process of restoration can significantly increase their worth. This makes it a potentially profitable hobby, as well as a fun one.
Benefits of Restoring
Restoring Matchbox cars offers several benefits, both tangible and intangible. Firstly, it’s a chance to learn new skills, from metalworking and painting to detailed craftsmanship and patience. The process hones fine motor skills and attention to detail, which can be useful in other areas of life. Restoring these cars can also provide a sense of accomplishment and satisfaction, especially when seeing a car return to its former glory. Financially, restored cars can increase in value, making your hobby a potential investment. The hobby can connect you with a community of enthusiasts and collectors, fostering new friendships and shared interests. It’s also a great way to appreciate the history of these toys and the craftsmanship that went into making them, as each car has its own story, and its restoration is a unique experience.
Tools and Materials Needed
Before starting your Matchbox diecast restoration project, gather the necessary tools and materials. Having everything at your fingertips will streamline the process and ensure a higher-quality outcome. The specific items you’ll need will vary based on the extent of the restoration, but here’s a comprehensive list to get you started. It’s often a good idea to start with a basic kit and add specialized tools and materials as you gain experience and tackle more complex projects. Remember, quality tools can make a huge difference in the final product. A well-equipped workspace, with good lighting and ventilation, is essential for comfortable and successful restoration work.
Cleaning Supplies
Cleaning supplies are the first essential components for a successful Matchbox diecast restoration. Start with a mild dish soap and warm water solution to gently wash away dirt and grime. Soft-bristled toothbrushes, cotton swabs, and microfiber cloths will help reach tight spaces and remove stubborn debris. For tougher stains or rust, you might need a commercial degreaser or a rust remover. Be very careful when using these stronger chemicals, and always follow the safety instructions. Isopropyl alcohol (rubbing alcohol) is useful for degreasing and cleaning surfaces before painting. Remember, a clean surface is vital for paint adhesion, so take the time to clean thoroughly. Have a well-ventilated workspace and wear appropriate gloves and eye protection when handling cleaning chemicals.
Paint and Finishes
Choosing the right paint and finishes is crucial for a professional-looking restoration. Acrylic model paints are a popular choice for their ease of use, quick drying time, and ability to be thinned with water. Enamel paints offer durability and a classic look, but they typically require more careful handling and longer drying times. Consider using an airbrush for smooth, even coats of paint, especially for larger areas. A primer is essential to ensure the paint adheres well to the metal surface. After painting, a clear coat protects the paint from scratches and adds shine. Consider using a clear coat with UV protection to prevent fading. Various finishing products, such as polishing compounds and waxes, can enhance the appearance of your restored Matchbox cars.
Essential Tools
Having the right tools simplifies the Matchbox diecast restoration process. You’ll need a set of small screwdrivers, including Phillips head and flathead types, for disassembling and reassembling the cars. Hobby knives or X-Acto knives are useful for trimming and detailing. Small files and sandpaper, in various grits, will help remove rust, smooth surfaces, and prepare the car for painting. A pin vise or small drill can be used to drill out rivets or create new holes. Tweezers and needle-nose pliers will assist in handling small parts. A magnifying glass can be invaluable for close-up work. An airbrush is ideal for applying paint evenly. Safety glasses and gloves are mandatory for protecting yourself during the restoration process.
Disassembly and Preparation
Before painting, the Matchbox car must be carefully disassembled and prepared. This step is vital to ensure a high-quality restoration. Patience is key, as older models can be fragile. Work in a well-lit area and take notes or photos as you disassemble the car. This will help you remember how the pieces go back together. Having the right tools will make this process easier. Handle each piece with care to avoid damaging it. Remember to take your time and enjoy the process. Accurate disassembly, cleaning, and surface preparation will set the stage for a successful painting and reassembly. Remember that taking care of the car during this stage will make the entire restoration process much more efficient and rewarding.
Taking Apart the Matchbox Car
The first step is to carefully disassemble the Matchbox car. Start by identifying the rivets or screws holding the chassis and body together. Use the appropriate screwdriver or drill to remove these fasteners. If the rivets are stubborn, you may need to carefully drill them out. Be gentle to avoid bending or breaking any parts. Once the chassis and body are separated, remove any wheels, windows, and interior components. Place all the parts in a safe place. Take photos of the car before disassembly to help you remember how the parts fit together. Label any screws or small parts to make reassembly easier. Disassembly is delicate, so handle each component with care to avoid any further damage.
Removing Old Paint
Removing the old paint is a crucial part of the restoration process. You can choose from several methods. Chemical paint strippers can effectively remove old paint, but require careful handling and adequate ventilation. Follow the manufacturer’s instructions and wear gloves and eye protection. Alternatively, you can use a sandblaster or a handheld rotary tool with a wire brush to remove the paint. These methods can be effective but may damage the metal if not handled carefully. After removing the paint, clean the body thoroughly to remove any residue. Inspect the car body for any damage or imperfections that need to be addressed before painting. The goal is to completely remove all the old paint and have a clean surface.
Surface Preparation
Preparing the surface is critical for a flawless paint finish. Begin by sanding the metal body with progressively finer grits of sandpaper to remove any remaining paint or imperfections. A fine-grit sandpaper (e.g., 400-600 grit) is often suitable for most projects. For deeper scratches, start with a coarser grit and work your way up. After sanding, clean the surface with a degreaser or isopropyl alcohol to remove any sanding dust or residue. Inspect the body for any imperfections or damage, and repair as needed with body filler or solder. Applying a primer ensures that the paint adheres well to the metal and creates a smooth base. Finally, make sure the surface is clean and dry before painting.
Painting the Matchbox Car
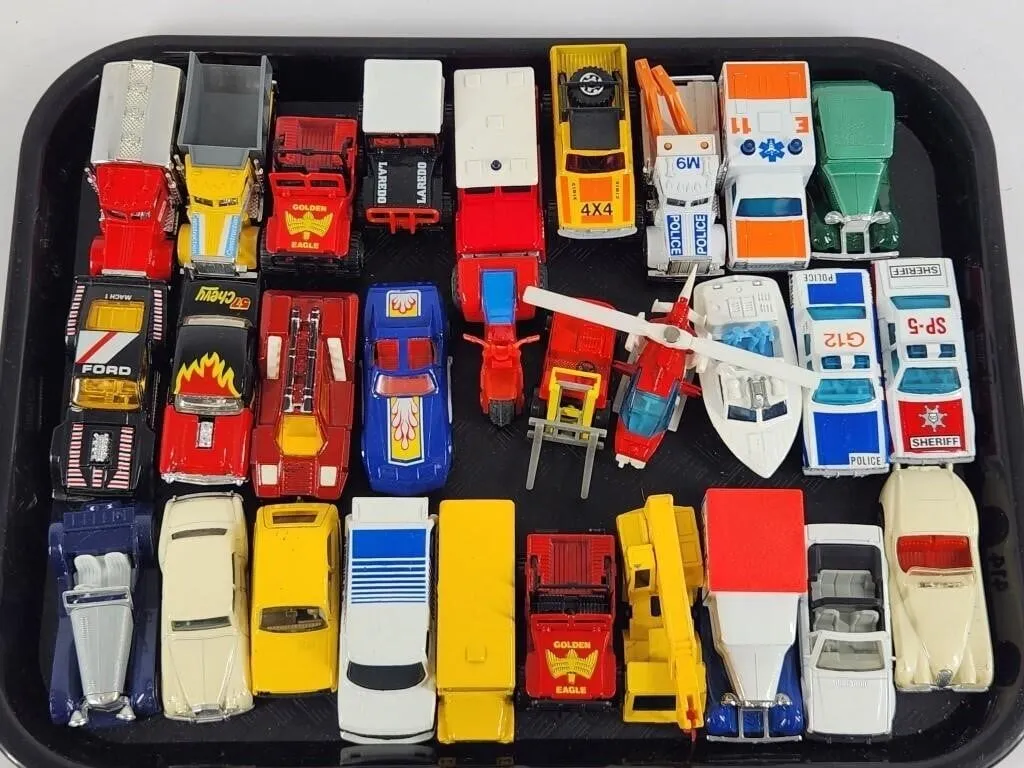
Painting the Matchbox car is where your vision comes to life. Choosing the right paint and using the proper techniques can significantly impact the final outcome. The goal is to achieve a smooth, even finish. Remember that patience is important, as multiple thin coats are better than one thick coat. Proper painting can add immense value and improve the overall look of your restored car. Take your time and enjoy the process of transforming a weathered toy into a pristine model.
Choosing the Right Paint
Selecting the appropriate paint is fundamental to a successful restoration. Acrylic model paints are a popular choice for their versatility, ease of use, and quick drying times. They can be thinned with water or specialized thinners and are available in a wide range of colors. Enamel paints offer durability and a classic look, however, they usually require more time to dry and a bit of care. Consider the level of detail you want to achieve; enamel paints may be better suited for intricate detailing. For a smooth finish, consider using an airbrush, especially for larger surfaces. Ensure you choose paints that are compatible with the primer you used. Consider paints that are specifically designed for use on metal to ensure durability and adhesion. Whatever paint you choose, be sure to test it before committing to painting the entire car.
Painting Techniques
Mastering painting techniques is essential. Start by applying a thin, even coat of primer to the prepared surface. Allow the primer to dry completely before applying the color coats. When applying the color coats, use multiple thin layers instead of a single thick coat. This helps prevent runs and drips and creates a smoother finish. Hold the airbrush or spray can at a consistent distance from the model and use even strokes. Let each coat dry completely before applying the next. For best results, sand lightly between coats with very fine-grit sandpaper (e.g., 1000-2000 grit) to remove any imperfections. Once the color coats have dried, you can apply a clear coat to protect the paint and add shine. Take your time, work in a well-ventilated area, and always follow the manufacturer’s instructions for the paint you are using. Consistent practices are key for high-quality results.
Reassembly and Detailing
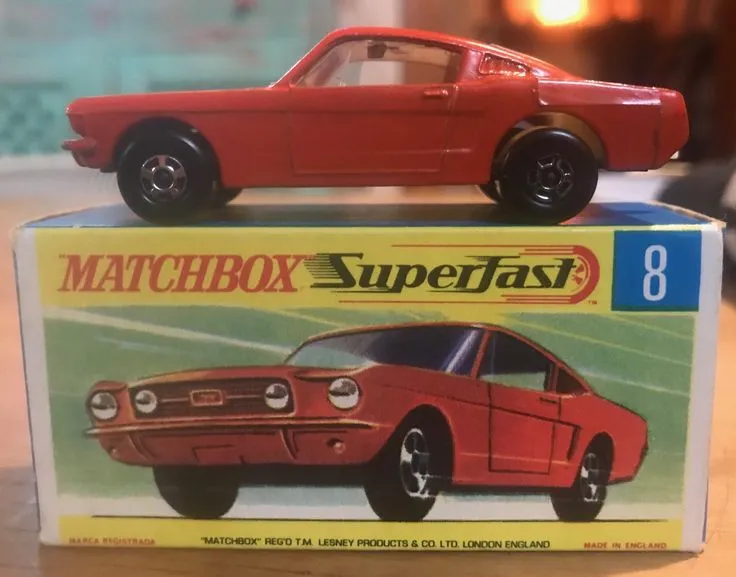
Reassembling and detailing your Matchbox car is the final step, bringing all the parts together in a cohesive whole. Attention to detail is crucial at this stage. Ensure all components are clean and properly aligned before reassembling. This is when you’ll bring your restored Matchbox car back to life. Patience and precision will ensure that all the original features are retained or improved upon. Take pride in this final stage, as the careful reassembly and detailing can greatly enhance the final result. These details can make a large difference in how the car looks and feels.
Putting the Car Back Together
Carefully reassemble the Matchbox car in reverse order of disassembly. Align the chassis and body, ensuring all parts fit together correctly. Secure the chassis and body with the original screws or replace them with new ones. If you drilled out rivets during disassembly, you may need to use new rivets or small screws to reattach the components. Reinstall the wheels, windows, and interior components. Ensure all parts are securely fastened and properly aligned. Double-check that all moving parts, such as the wheels and steering mechanism (if applicable), function smoothly. As you rebuild, refer to your photos or notes from the disassembly to ensure accurate reassembly. Reassembly is very important, so do not rush and double-check your work.
Adding Decals and Details
Adding decals and details is a great way to enhance the look of your restored Matchbox car. You can use original decals if available or create custom ones. Carefully apply the decals to the body, following the instructions and using a decal setting solution to ensure they adhere properly. Use a hobby knife to trim any excess decal material. Add details such as headlights, taillights, and grilles using paint or fine-tipped markers. Consider adding small details to the interior, such as painted seats or a dashboard. These details add realism and make the car look more authentic. Patience and a steady hand are key when applying small details. Taking your time will make your restoration project have high levels of detail.
Final Touches and Polishing
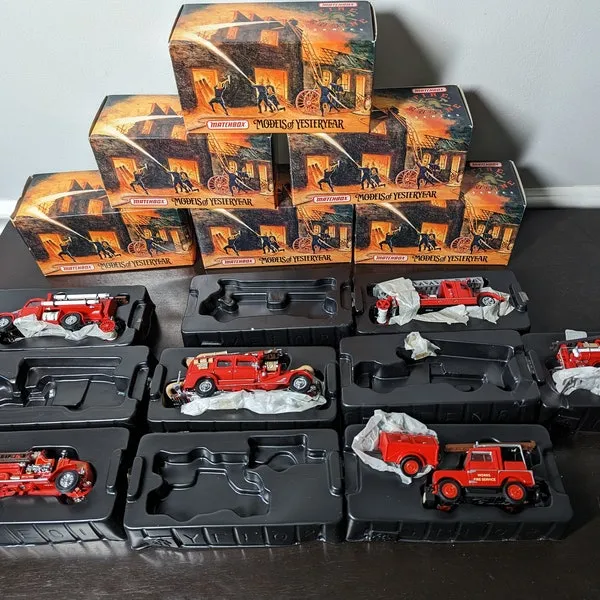
After reassembly and detailing, the final touches will elevate the appearance of your restored Matchbox car. This stage involves polishing and protecting your car and ensuring that it looks its best. Taking these final steps can really bring your restoration to the next level. Finishing the project correctly will result in a more valuable and appealing model.
Protecting Your Restoration
To protect your restoration, apply a clear coat to the painted surfaces. A clear coat provides a protective layer that helps prevent scratches, chips, and fading. Choose a clear coat that is compatible with the paint you used. After the clear coat has dried, you can polish the car to remove any imperfections and enhance its shine. Use a polishing compound and a soft cloth to gently buff the surfaces. Avoid harsh chemicals or abrasive cleaners that could damage the paint. Store your restored Matchbox cars in a safe place, away from direct sunlight and extreme temperatures. Consider using a display case or a protective sleeve to further protect them from dust and damage.
Displaying Your Restored Matchbox Cars
Once your Matchbox car is restored, consider how you will display it. A display case is an excellent way to showcase your collection and protect your cars from dust and damage. You can also create custom display stands or dioramas to enhance the presentation of your restored models. Arrange your cars by type, era, or color to create an appealing visual display. Share your collection with other enthusiasts by displaying it at car shows or online forums. Enjoy the process of displaying your hard work! Consider how the cars fit into a greater collection of models and enjoy them.
